How to Remove Background Noise in Audacity with a Noise Profile
Select noise only, click Get Noise Profile, then start at 6 dB. If the residue contains the voice, use less before you apply it.
Audacity can lower a fan, a hiss, or a hum, but only after you show it a stretch of that sound with nobody talking. The profile is the whole method. A selection that includes the voice teaches Audacity to treat the voice as noise.
Key Takeaways
- Noise Reduction is for constant sounds: hum, whistle, whine, buzz, hiss, and fan noise. It is not for clicks, traffic, or an audience.
- You need at least 0.05 seconds of noise only at 44,100 Hz. A longer sample is better. Copying a tiny sample over and over does not help.
- Start at the manual's defaults: 6 dB of reduction and Sensitivity 6.00. Listen to Residue before you apply Reduce.
- The profile is forgotten when you quit Audacity, and a profile from one sample rate cannot clean another rate.
What this effect can actually remove
The Audacity manual says Noise Reduction can reduce constant background sounds such as hum, whistle, whine, buzz, and hiss, including tape hiss, fan noise, or FM/webcast carrier noise. It is not suitable for individual clicks and pops, or for irregular background noise such as traffic or an audience. If the noise is very loud, keeps changing, or sits in the same frequencies as the voice, a satisfactory removal may be impossible. (Audacity Manual: Noise Reduction, retrieved 2026-10-17.)
That line is why a bark, a door, or one gust of wind does not belong on this page. Those sounds do not have one profile. A bark between words can be cut. A bark on a word usually cannot. See removing dog barking. Wind rumble is mostly low-frequency air movement, covered in removing wind noise from a video you already shot.
If the problem is mains hum or a high-pitched whistle, the manual says a Notch Filter may help, and that filter should be done before Noise Reduction.
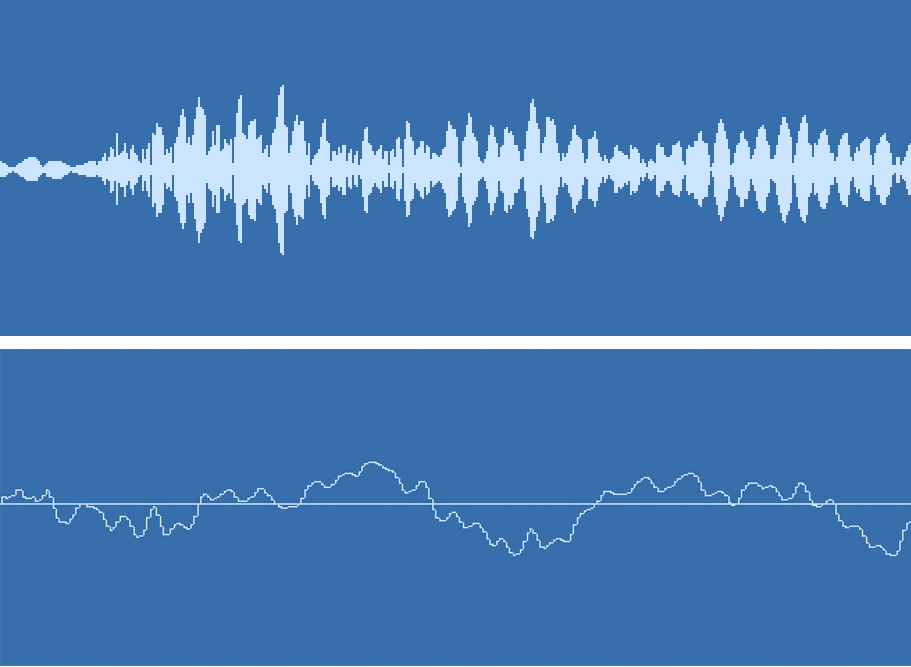
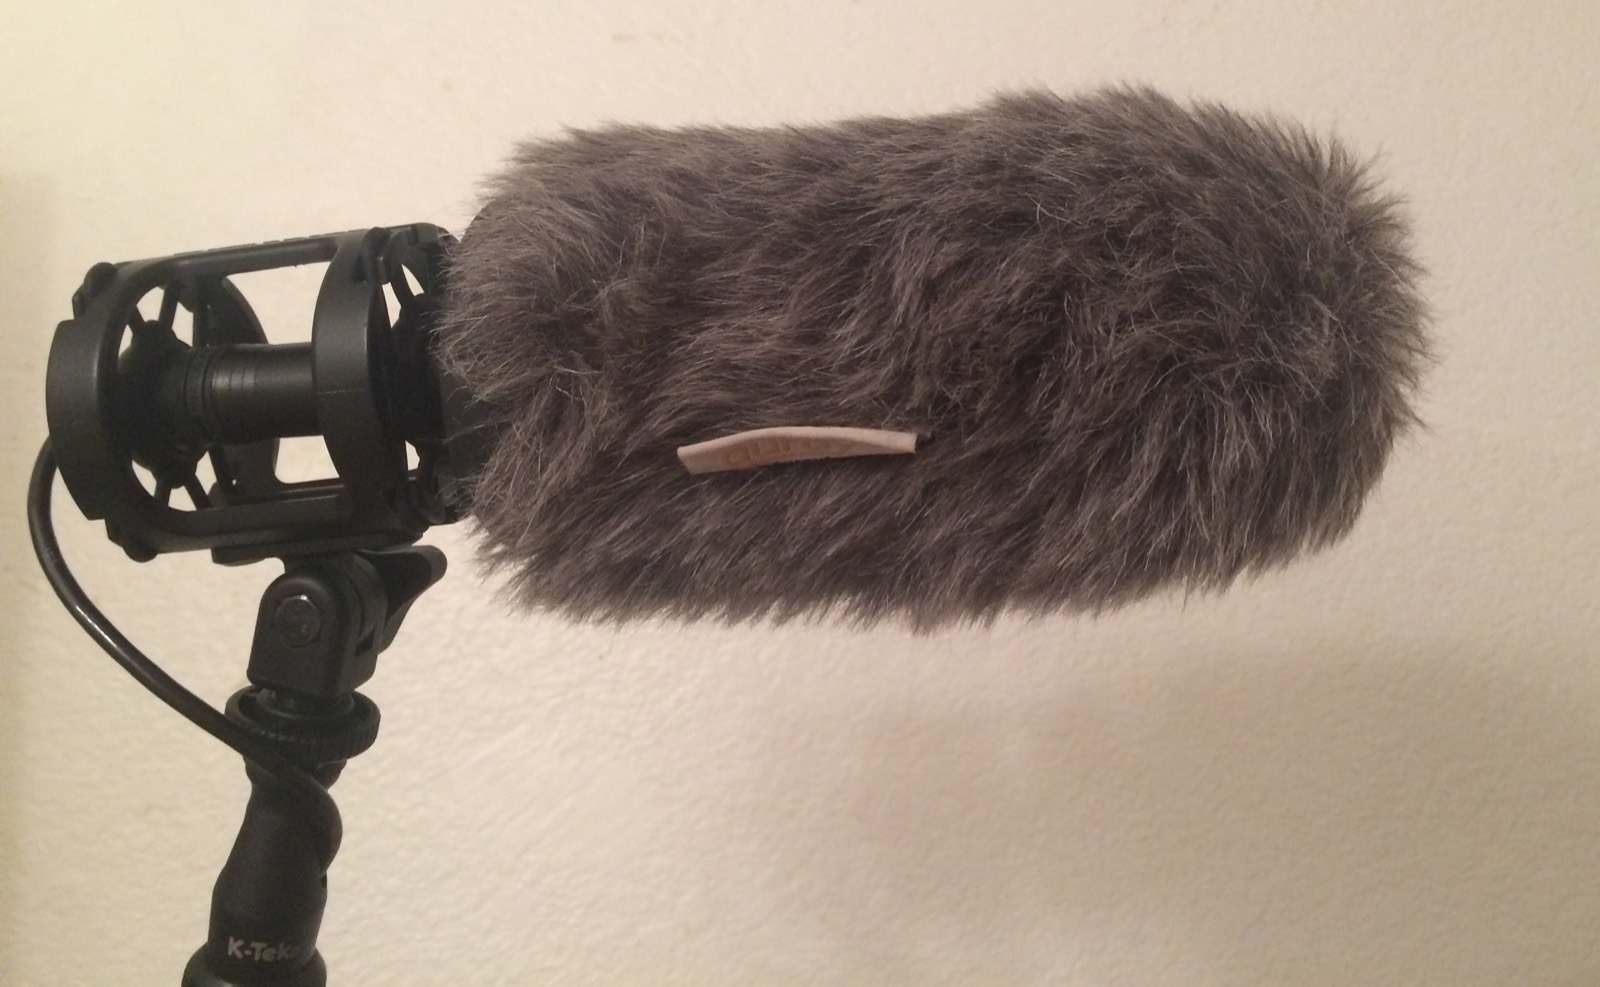
Photo: Ktmartin, CC BY 4.0, via Wikimedia Commons.
Get the noise profile before you touch the sliders
The current manual opens the effect from Effect > Noise Removal and Repair > Noise Reduction.
- Select a region that contains only the noise you want to reduce. Audacity needs at least 2048 samples. At 44,100 Hz that is 0.05 seconds. A shorter selection shows an error. A longer profile is better.
- Click Effect > Noise Reduction, then click Get Noise Profile.
Do not duplicate a very short sample to make it long enough. Noise Reduction calculates the statistics of the noise. Repeating the same block does not change those statistics.
If different parts of the track contain different noises, profile and reduce the first type, then profile the next type. One profile cannot describe both a fan and a later air conditioner.
The profile is not kept when you close Audacity. The next time you open the effect, you have to make a new one from the file in front of you.
Reduce the noise, then listen to what you removed
- Select the part of the track you want to clean.
- Open Noise Reduction again.
- Start at the manual's defaults: Noise Reduction 6 dB, Sensitivity 6.00, and Frequency Smoothing 6 bands.
- Use Preview. Also switch Noise to Residue and listen. Residue is the sound that will be removed.
- If you hear the voice in the residue, lower Sensitivity or lower Noise Reduction, then preview again.
- Switch back to Reduce and apply it.
Noise Reduction (dB) is how far the identified noise is turned down. Use the lowest value that makes the noise acceptable. A higher number can make the pauses quieter and damage the voice that remains. The default is 6.
Sensitivity runs from 0 (off) to 24 (maximum). More sensitivity removes more noise and can also remove part of the voice. Lower values can leave short random tones. Set it to the lowest value that removes the noise without those tones. The default is 6.00.
Frequency Smoothing spreads the reduction into neighboring bands. For a strong voice and light noise, try 0. If short tones remain after Sensitivity is as high as it can go without eating the voice, try 1 to 6 bands. The manual says settings lower than the default tend to favor music, and higher settings tend to favor spoken word. At 44,100 Hz, one band is about 21.53 Hz wide. The default is 6.
Time smoothing is always on: 20 milliseconds of attack and 100 milliseconds of release. You cannot change those numbers.
Some distortion is normal. The effect works well when there is only a little noise and the voice is much louder than that noise. When the noise is loud or keeps changing, the result can be too distorted. Undo it.
After you have a profile, Effect > Repeat Noise Reduction applies the current settings again. Do notch filtering or click removal before noise reduction. Do compression after it. Amplify or Normalize can happen before or after.
Two errors that are not slider problems
A profile taken at one sample rate cannot clean a track at another rate. Audacity shows "Sample rate of the Noise Profile must match that of the sound to be processed." A profile taken across tracks that do not share a sample rate is also blocked, with "All Noise Profile data must have the same sample rate."
If you apply the effect to a time-stretched clip, Audacity renders the changed speed. The manual also warns that applying this effect while an envelope is present can remove the envelope and return the audio to full amplitude. That is a documented bug, not a setting to plan around.
The shorter overview, including Premiere and DaVinci Resolve, stays in how to remove background noise from video you already shot.
When Audacity is the wrong stop
Use Adobe Audition when you want a noise print you can save, and you already work in that editor. Audition wants at least half a second of noise only. Use CapCut when the picture is already on that timeline. Use EraseNoise on the video noise remover when you want to hear the first 30 seconds of a saved file before you build a profile.
If the room rings after the words, this effect will not pull the voice closer. That file belongs on echo removal. The wider choice among editors is in best audio cleaning software.
Open this page when you can point at the noise
Use Audacity when the file has a stretch of the unwanted sound with nobody talking, and that sound stays the same. If you do not have that stretch, do not invent one by selecting the voice. Preview the file on the EraseNoise video noise remover, or use a dialogue upload such as Adobe Podcast Enhance Speech.
Frequently asked questions
Why does Get Noise Profile fail?
The selection is shorter than 2048 samples, or it is not noise only. At 44,100 Hz, 2048 samples is 0.05 seconds. Select a longer stretch of the unwanted sound with nobody talking. Copying a tiny sample over and over does not fix a short selection. (Audacity Manual: Noise Reduction, retrieved 2026-10-17.)
What do the default sliders mean?
The manual's defaults are Noise Reduction 6 dB, Sensitivity 6.00, and Frequency Smoothing 6 bands. Use the lowest reduction that makes the noise acceptable. If Residue contains recognizable bits of the voice, the reduction or the sensitivity is too high.
Can I reuse yesterday's noise profile?
No. The profile is forgotten when you close Audacity. Make a new one from the file you are cleaning. A profile from a different sample rate is rejected.